
How to apply heat transfer vinyl with an iron: step by step
Quick answer
Cut the design in mirror image, weed the excess vinyl, pre-press the fabric, place the design and press with a hot iron without steam for 15–20 seconds in each spot. Peel off the carrier sheet once the design sticks to the fabric, and wait at least 24 hours before the first wash.

Heat transfer vinyl (HTV) is a thin material with an adhesive that activates with heat. You can use it to personalize T-shirts, bags, aprons and hoodies, and you don't need a heat press — a regular household iron will do. In this tutorial we show you how to do it so the design lasts through washing.
What you will need
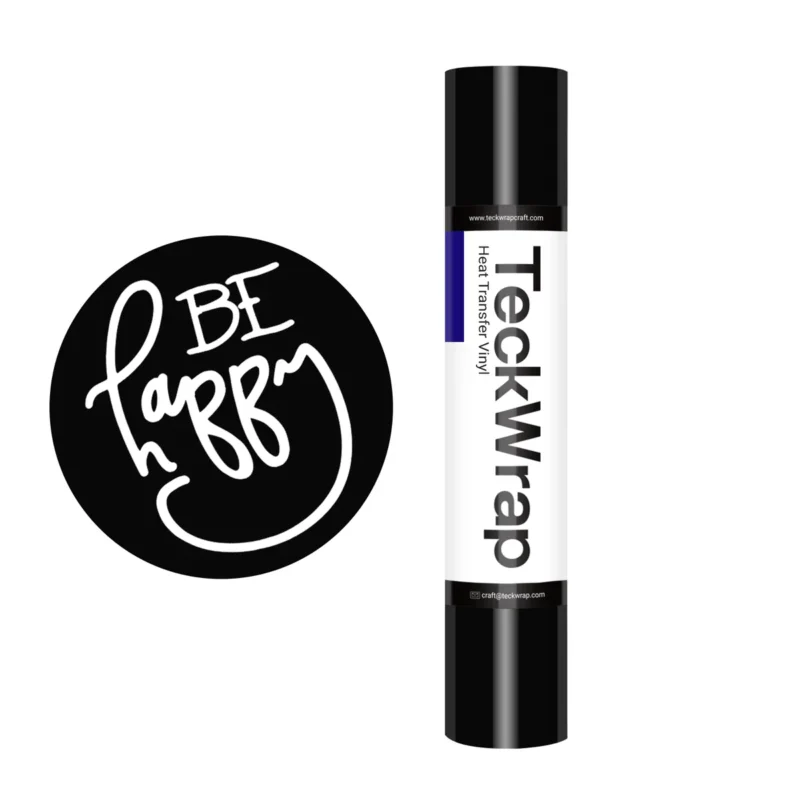
- Heat transfer vinyl, for example PRO PU heat transfer vinyl or PU heat transfer vinyl
- A cutting machine (Cricut, Silhouette or similar) or a sharp craft knife for simple shapes
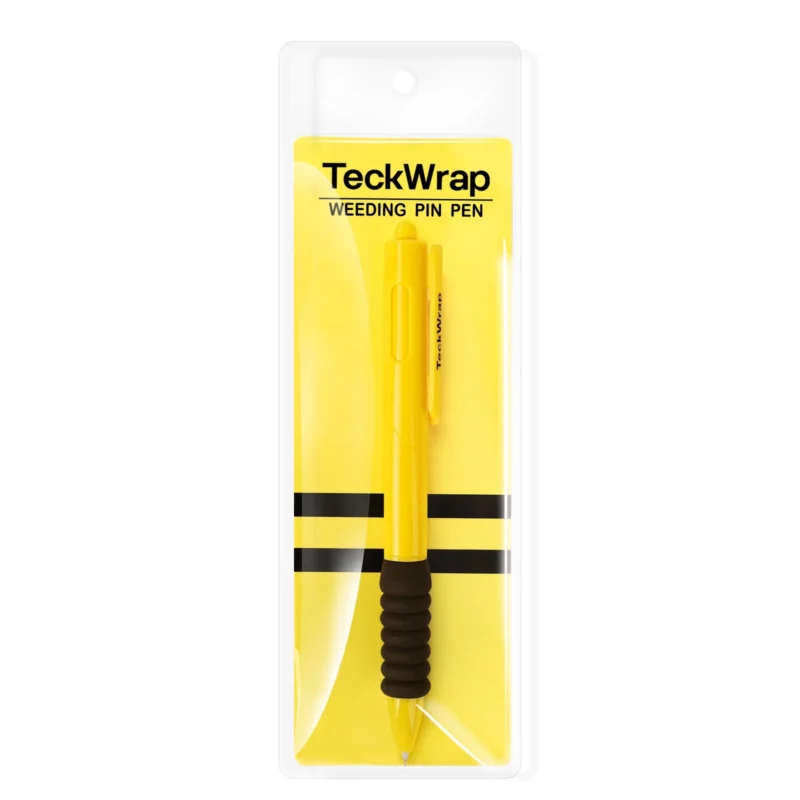
- Weeding pen or another pointed tool
- An iron with a steam-off setting (or a heat press)
- Baking paper or a Teflon sheet
- A hard, flat surface — a table with a folded towel, not an ironing board
- A garment made of cotton, polyester or a blend
Cut the design in mirror image
Heat transfer vinyl has two sides: the shiny, clear carrier sheet and the matte side with the adhesive. The vinyl goes on the cutting mat shiny side down, so the machine cuts the adhesive side. That means the design always has to be cut in mirror image: in Cricut Design Space the option is called “Mirror”, in Silhouette Studio it is “Flip Horizontally”.
Cut only through the vinyl, not the carrier sheet. If the machine cuts the carrier too, lower the pressure or the blade depth. Before a bigger project, cut a small test shape.
Weed the excess vinyl
Lift the edge of the excess material and slowly peel away everything that isn't part of the design. Small inner pieces, such as the centers of the letters “o” and “a”, are easy to pick out with a weeding pin. The design stays on the clear carrier sheet, and now it reads the right way round.
Prepare the fabric
The garment should be clean and dry. Moisture and wrinkles stop the adhesive from bonding, so first press the spot where the design will go for about 5 seconds. New garments are best washed beforehand without fabric softener.
An ironing board is usually too soft and springy, so it's better to work on a table covered with a folded towel or pillowcase.
Position the design
Place the design carrier side up, so the adhesive side touches the fabric. On an adult T-shirt, the top of a chest design usually sits 7–10 cm below the neckline. The carrier sheet is slightly tacky, so the design won't shift.
Press with the iron
- Set the iron to the cotton or linen setting (the hottest one) and turn off the steam.
- Cover the design with baking paper or a Teflon sheet.
- Press firmly and evenly for 15–20 seconds in one spot, then lift the iron and move it to the next spot. Don't slide the iron back and forth — that can stretch the design. The areas under the steam holes get less heat, so shift the iron slightly between presses.
- Once the whole design has been pressed, turn the garment inside out and press the design area from the inside for another 10–15 seconds.
If you have a heat press: PU heat transfer vinyl usually works at 150–160 °C for 10–15 seconds with medium pressure, while Puff heat transfer vinyl needs 154 °C for 15 seconds. If you're not sure about the exact settings, test on a fabric scrap or a hidden spot first.
Peel off the carrier sheet
Let the design cool slightly and carefully lift a corner of the carrier sheet. If the design stays on the fabric, peel the carrier off slowly at a low angle. If any part lifts with it, lay the carrier back down, cover it with paper and press for another 10 seconds.
Care after application
- Wait at least 24 hours before the first wash — the adhesive needs time to set.
- Wash in cold water with the garment turned inside out.
- Don't use bleach or dry cleaning.
- Tumble dry on low or air dry, and don't iron directly over the design.
Common mistakes
- Design not mirrored — the text on the shirt will be backwards. Check “Mirror” before cutting.
- Vinyl on the mat with the wrong side up — the machine cuts through the carrier sheet, and the pieces can no longer be transferred together.
- Not enough pressure — the edges of the design start lifting after the first wash. Work on a hard surface and press with both hands.
- Steam turned on — moisture weakens the adhesive.
Used in this tutorial
More tutorials
All tutorials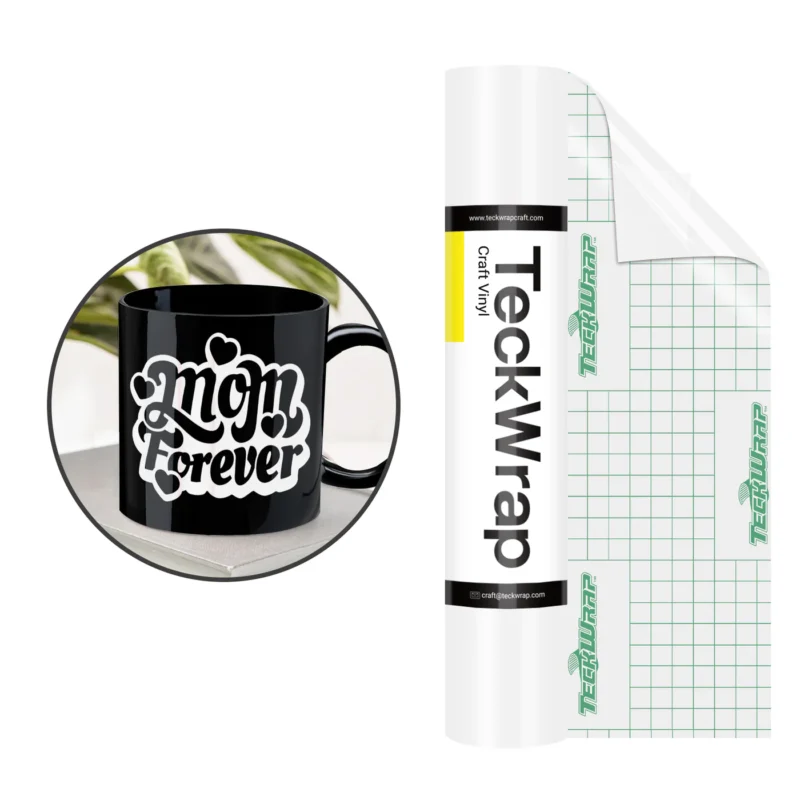
Adhesive vinyl or heat transfer vinyl — which one to choose?
Adhesive vinyl is for hard, smooth surfaces — mugs, glass, walls and laptops. Heat transfer vinyl is for textiles — T-shirts, bags and hoodies — and it is applied with heat. Only heat transfer vinyl holds up to washing on clothes.
How to choose transfer tape: low, medium or high tack
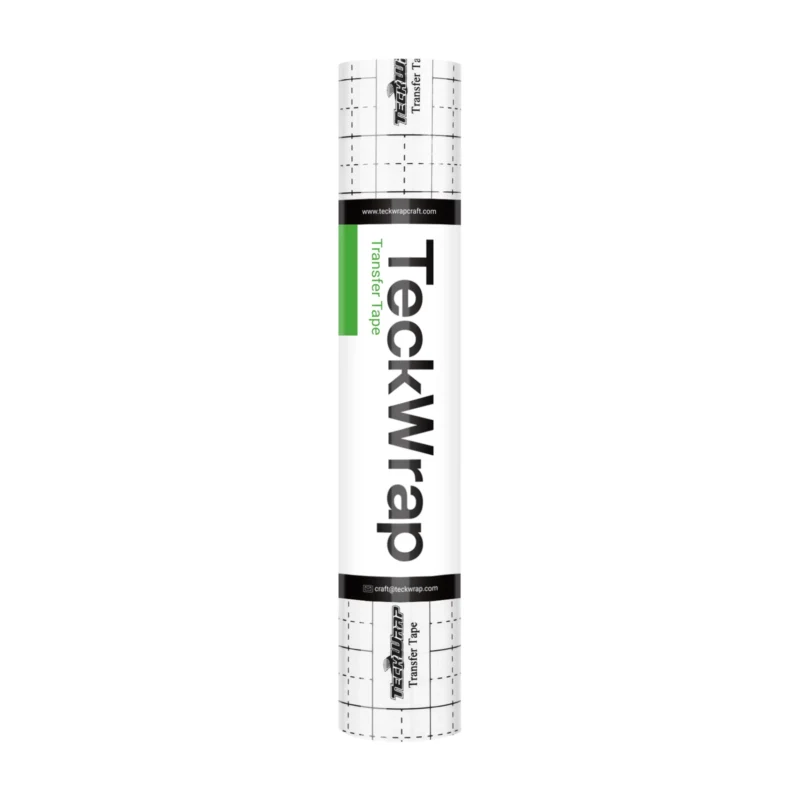
Choose transfer tape to match the vinyl: glossy and matte adhesive vinyl only need low or medium tack, glitter and textured vinyl need high tack, and heat transfer vinyl doesn't need transfer tape at all.