
How to choose transfer tape: low, medium or high tack
Quick answer
Choose transfer tape to match the vinyl: glossy and matte adhesive vinyl only need low or medium tack, glitter and textured vinyl need high tack, and heat transfer vinyl doesn't need transfer tape at all.
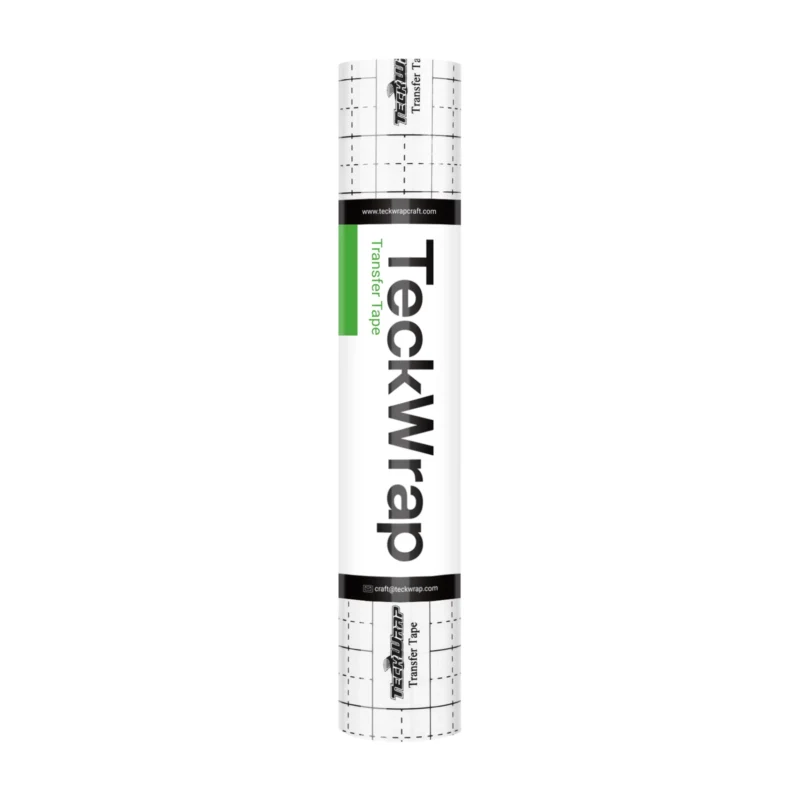
Transfer tape is a clear, sticky film used to move a cut adhesive vinyl design from its backing paper onto a mug, wall or glass. It keeps all the letters and details exactly as far apart as they were cut. The most important thing is choosing the right tack strength.
Why tack matters
Transfer tape has to grip the vinyl more strongly than the backing paper does, but less strongly than the surface you are applying the design to.
- If the tack is too weak, the letters stay on the backing paper.
- If the tack is too strong, the tape is hard to remove — it can pull up the vinyl or even paint from the wall.
Which transfer tape to choose
Low tack
A gentle grip. Suits 001 series glossy and matte adhesive vinyl, layered designs (the next layer won't lift the one below) and stencils on wood. Low Tack Transfer Tape
Medium tack
The all-round choice for most TeckWrap adhesive vinyls, except textured surfaces. If you only buy one transfer tape, start with this one. Medium Tack Transfer Tape
VersaTape
A thinner PET transfer tape with a grid for precise alignment. Suits most TeckWrap adhesive vinyls except glitter, and works especially well for fine cuts. TeckWrap VersaTape
High tack
The strongest grip — for glitter, brushed glitter, polka dot, rainbow stripe and galaxy adhesive vinyls, as well as other textured surfaces. It still peels off cleanly after the transfer, with no adhesive residue. High Tack Transfer Tape
Does heat transfer vinyl need transfer tape?
No. Heat transfer vinyl already has its own clear carrier sheet, which holds the design while you press it onto the fabric. Transfer tape is only needed for adhesive vinyl.
How to use transfer tape
- Weed the excess vinyl from the cut design.
- Cut a piece of transfer tape 1–2 cm larger than the design on every side.
- Peel the transfer tape off its backing and lay it over the design, smoothing from the center outwards. If the tape has a grid, use it to line up the design.
- Burnish firmly with a squeegee on the front, then flip it over and burnish the backing paper side too.
- Slowly peel off the backing paper at a low angle. If a letter stays on the paper, lay the paper back down and burnish again.
- Place the design on a clean, dry surface and burnish firmly with the squeegee.
- Peel off the transfer tape slowly, almost parallel to the surface.
Tips
- Clean the surface with rubbing alcohol first — grease and dust stop the adhesive from bonding.
- If the transfer tape is too sticky, press it against a clean piece of fabric a few times before use — the tack will become gentler.
- On painted walls, choose a gentler tack and remove the transfer tape especially slowly.
- Use a fresh piece of transfer tape for each design — reused tape holds less well.
Used in this tutorial
More tutorials
All tutorials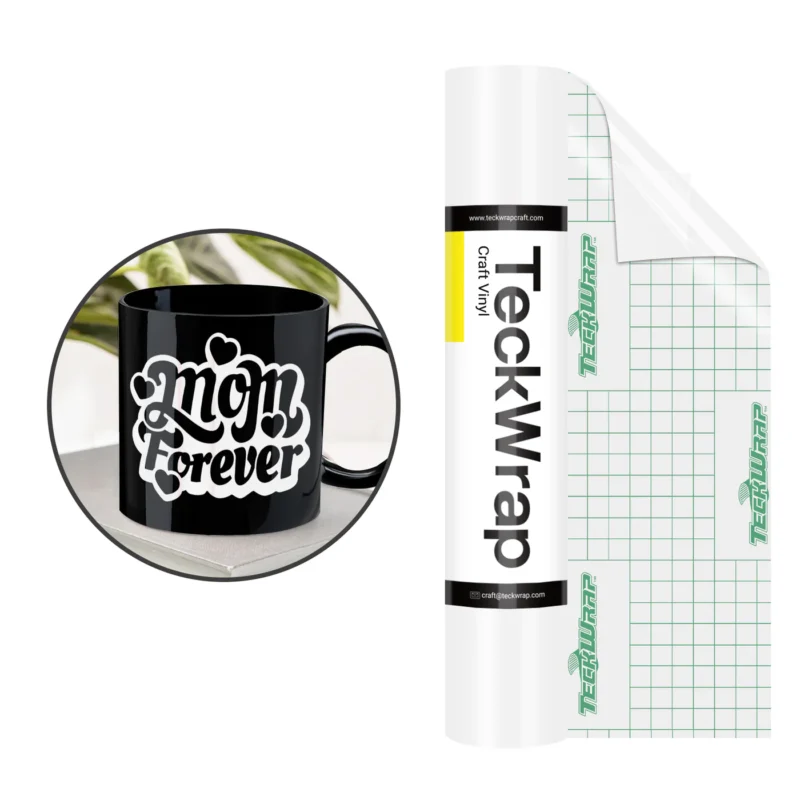
Adhesive vinyl or heat transfer vinyl — which one to choose?
Adhesive vinyl is for hard, smooth surfaces — mugs, glass, walls and laptops. Heat transfer vinyl is for textiles — T-shirts, bags and hoodies — and it is applied with heat. Only heat transfer vinyl holds up to washing on clothes.

How to apply heat transfer vinyl with an iron: step by step
Cut the design in mirror image, weed the excess vinyl, pre-press the fabric, place the design and press with a hot iron without steam for 15–20 seconds in each spot. Peel off the carrier sheet once the design sticks to the fabric, and wait at least 24 hours before the first wash.